
An out-n-back to one of the lower peaks of the Mount Wilson group in the San Gabriel front ranges.
Not to be confused with “Mount Muir” (14,012′) in the sierras, or “Muir Peak” in the Cascades in Washington (10,193′) this one tops out at a mere 4688 ft / 1429 m
There’s a number of routes that will get to this peak, for this one we will be hiking in from Eaton Saddle past Mt Lowe and San Gabriel Peak.
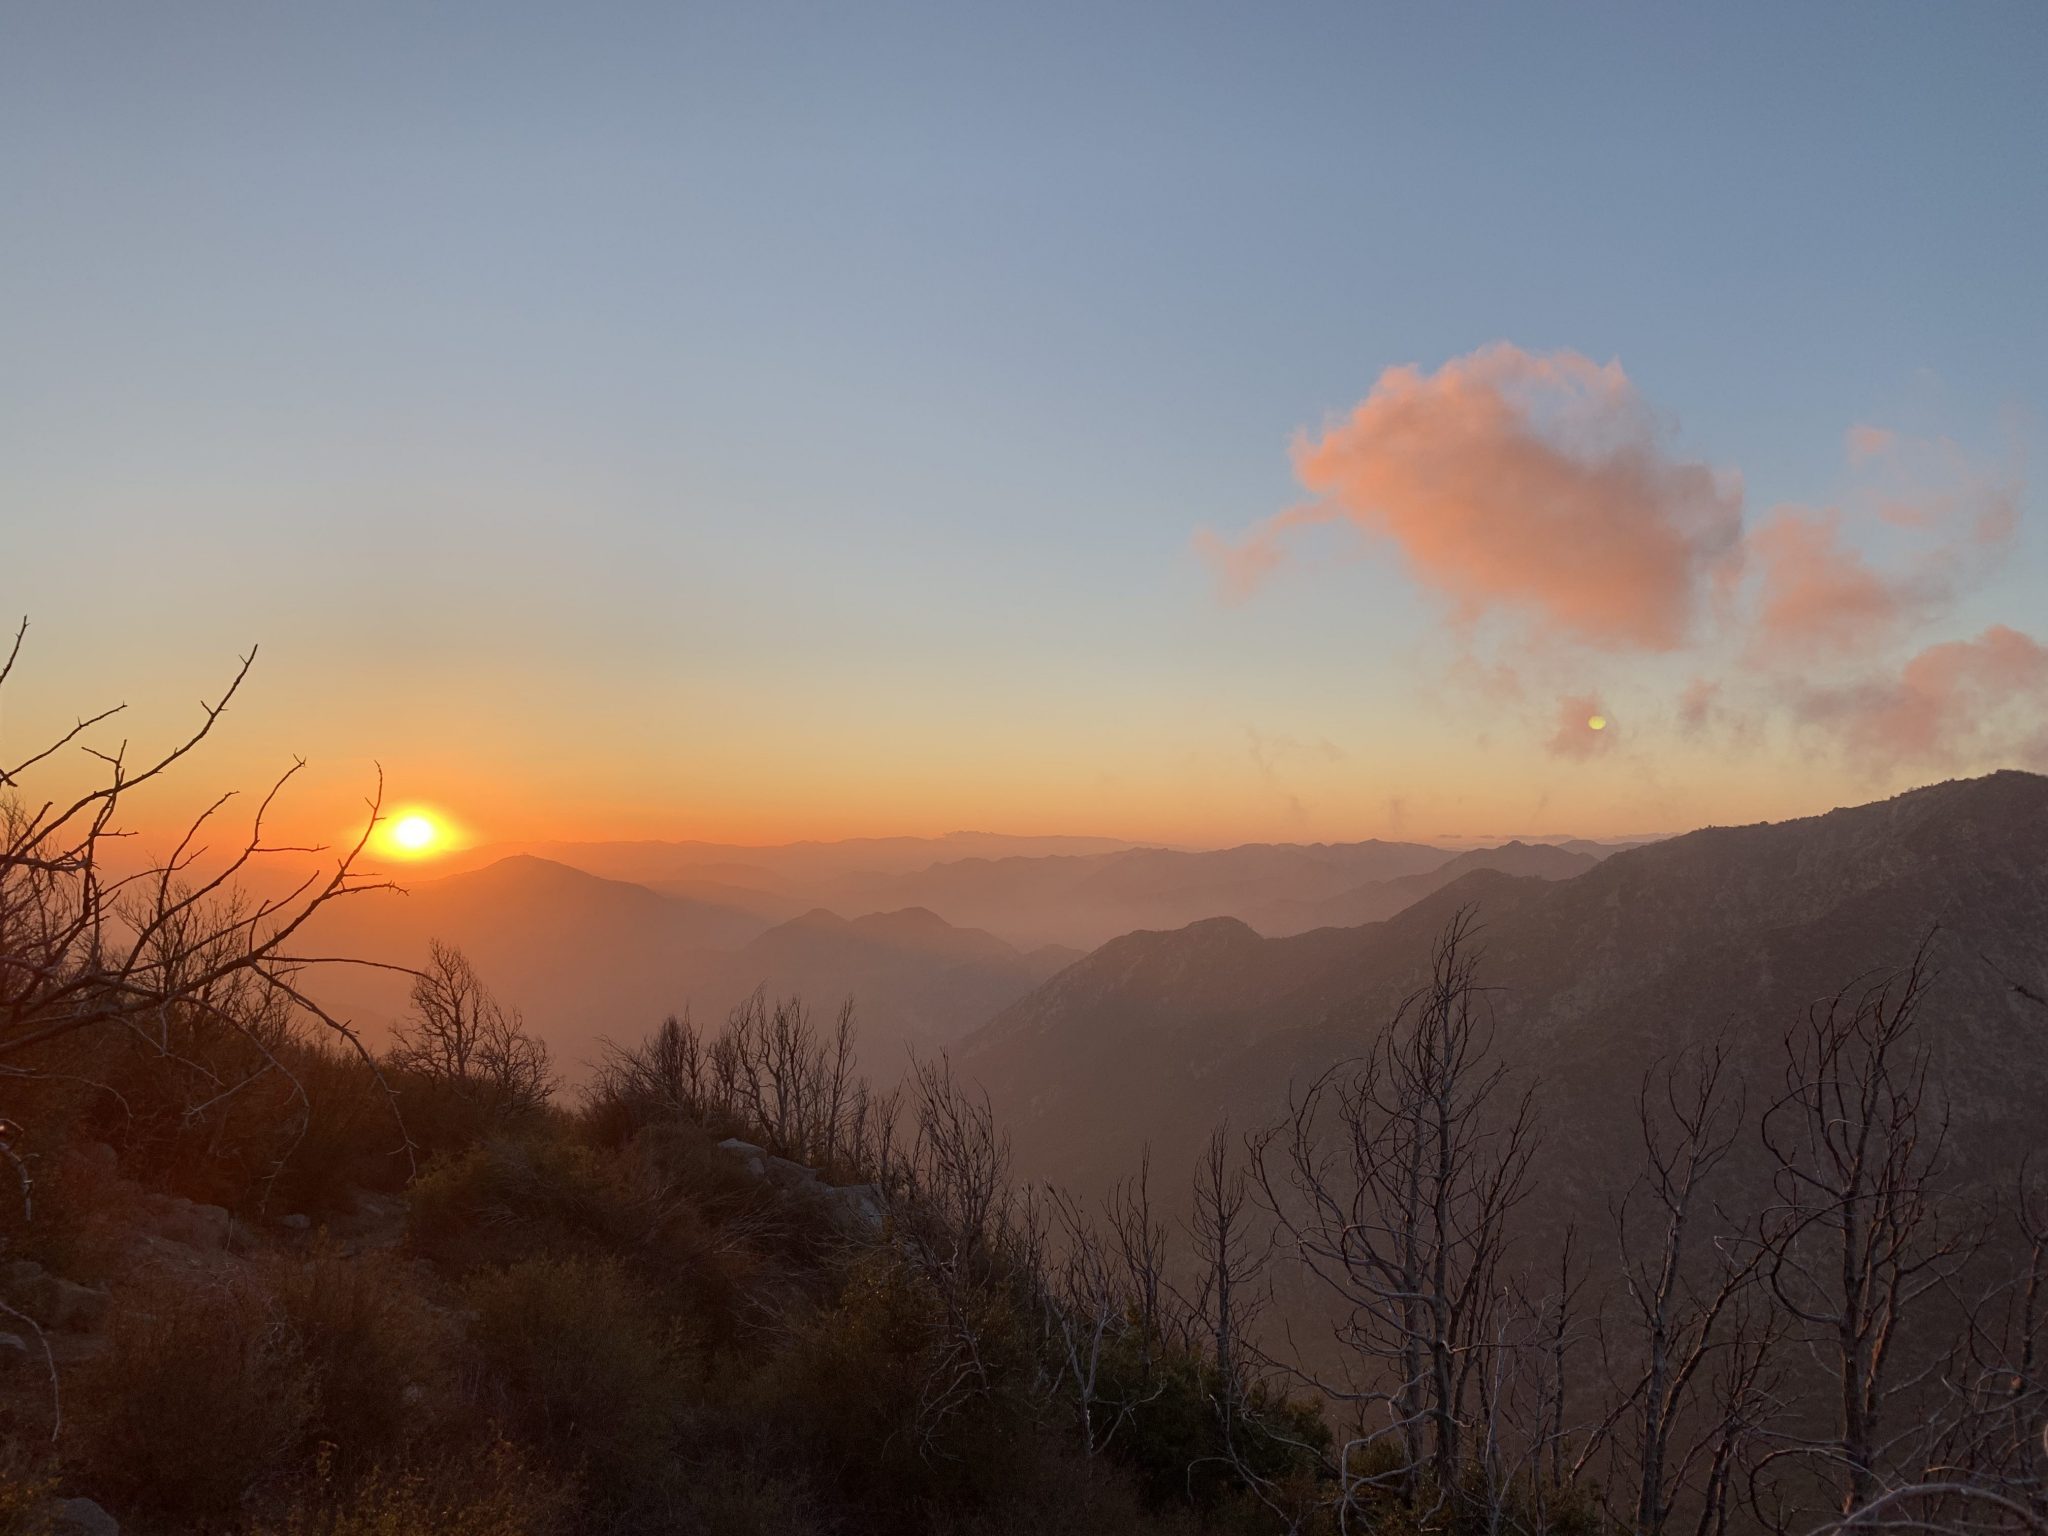
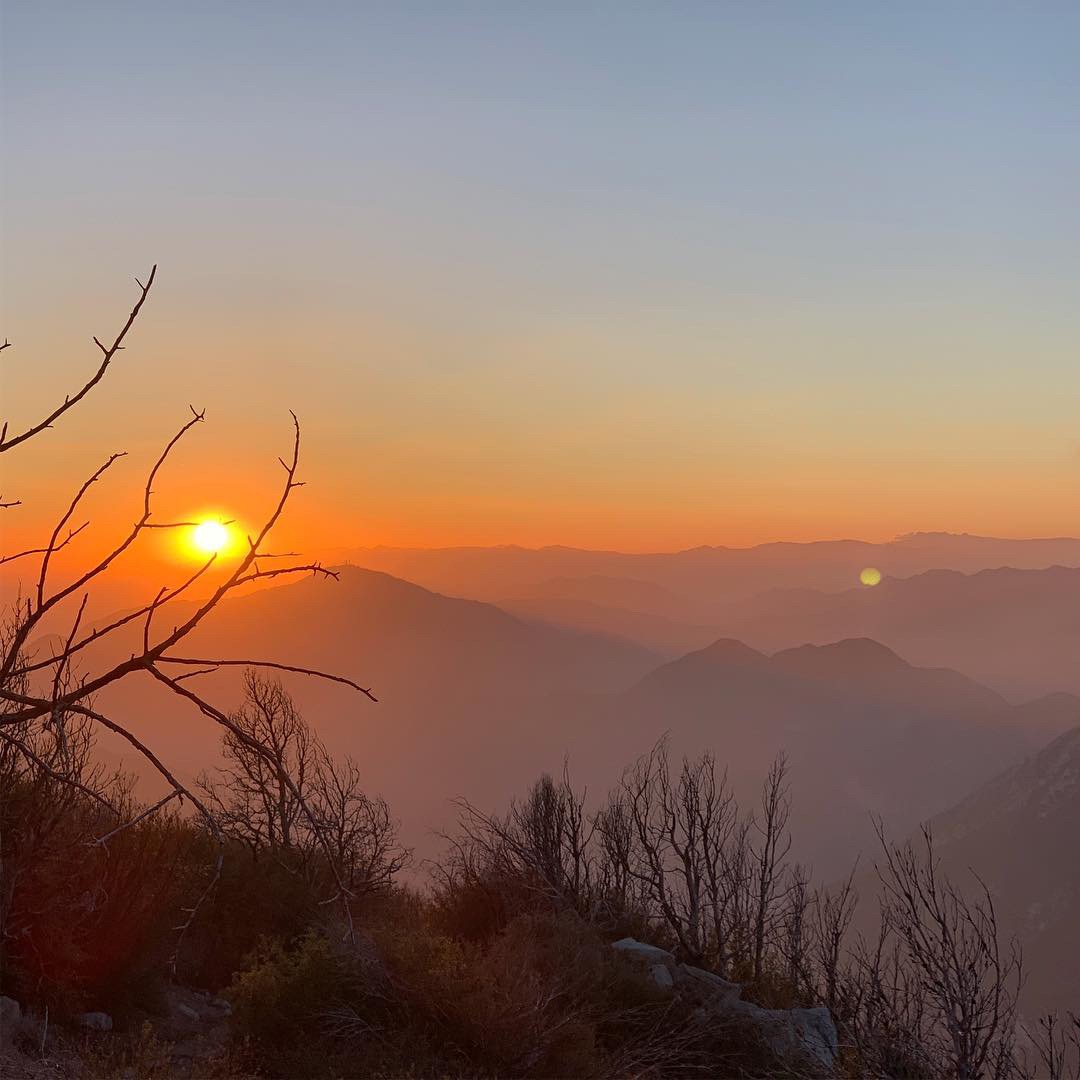
Awesome westerly views of the Los Angeles basin, and all the way to the coast – if the weather is clear.
Where is Muir Peak?
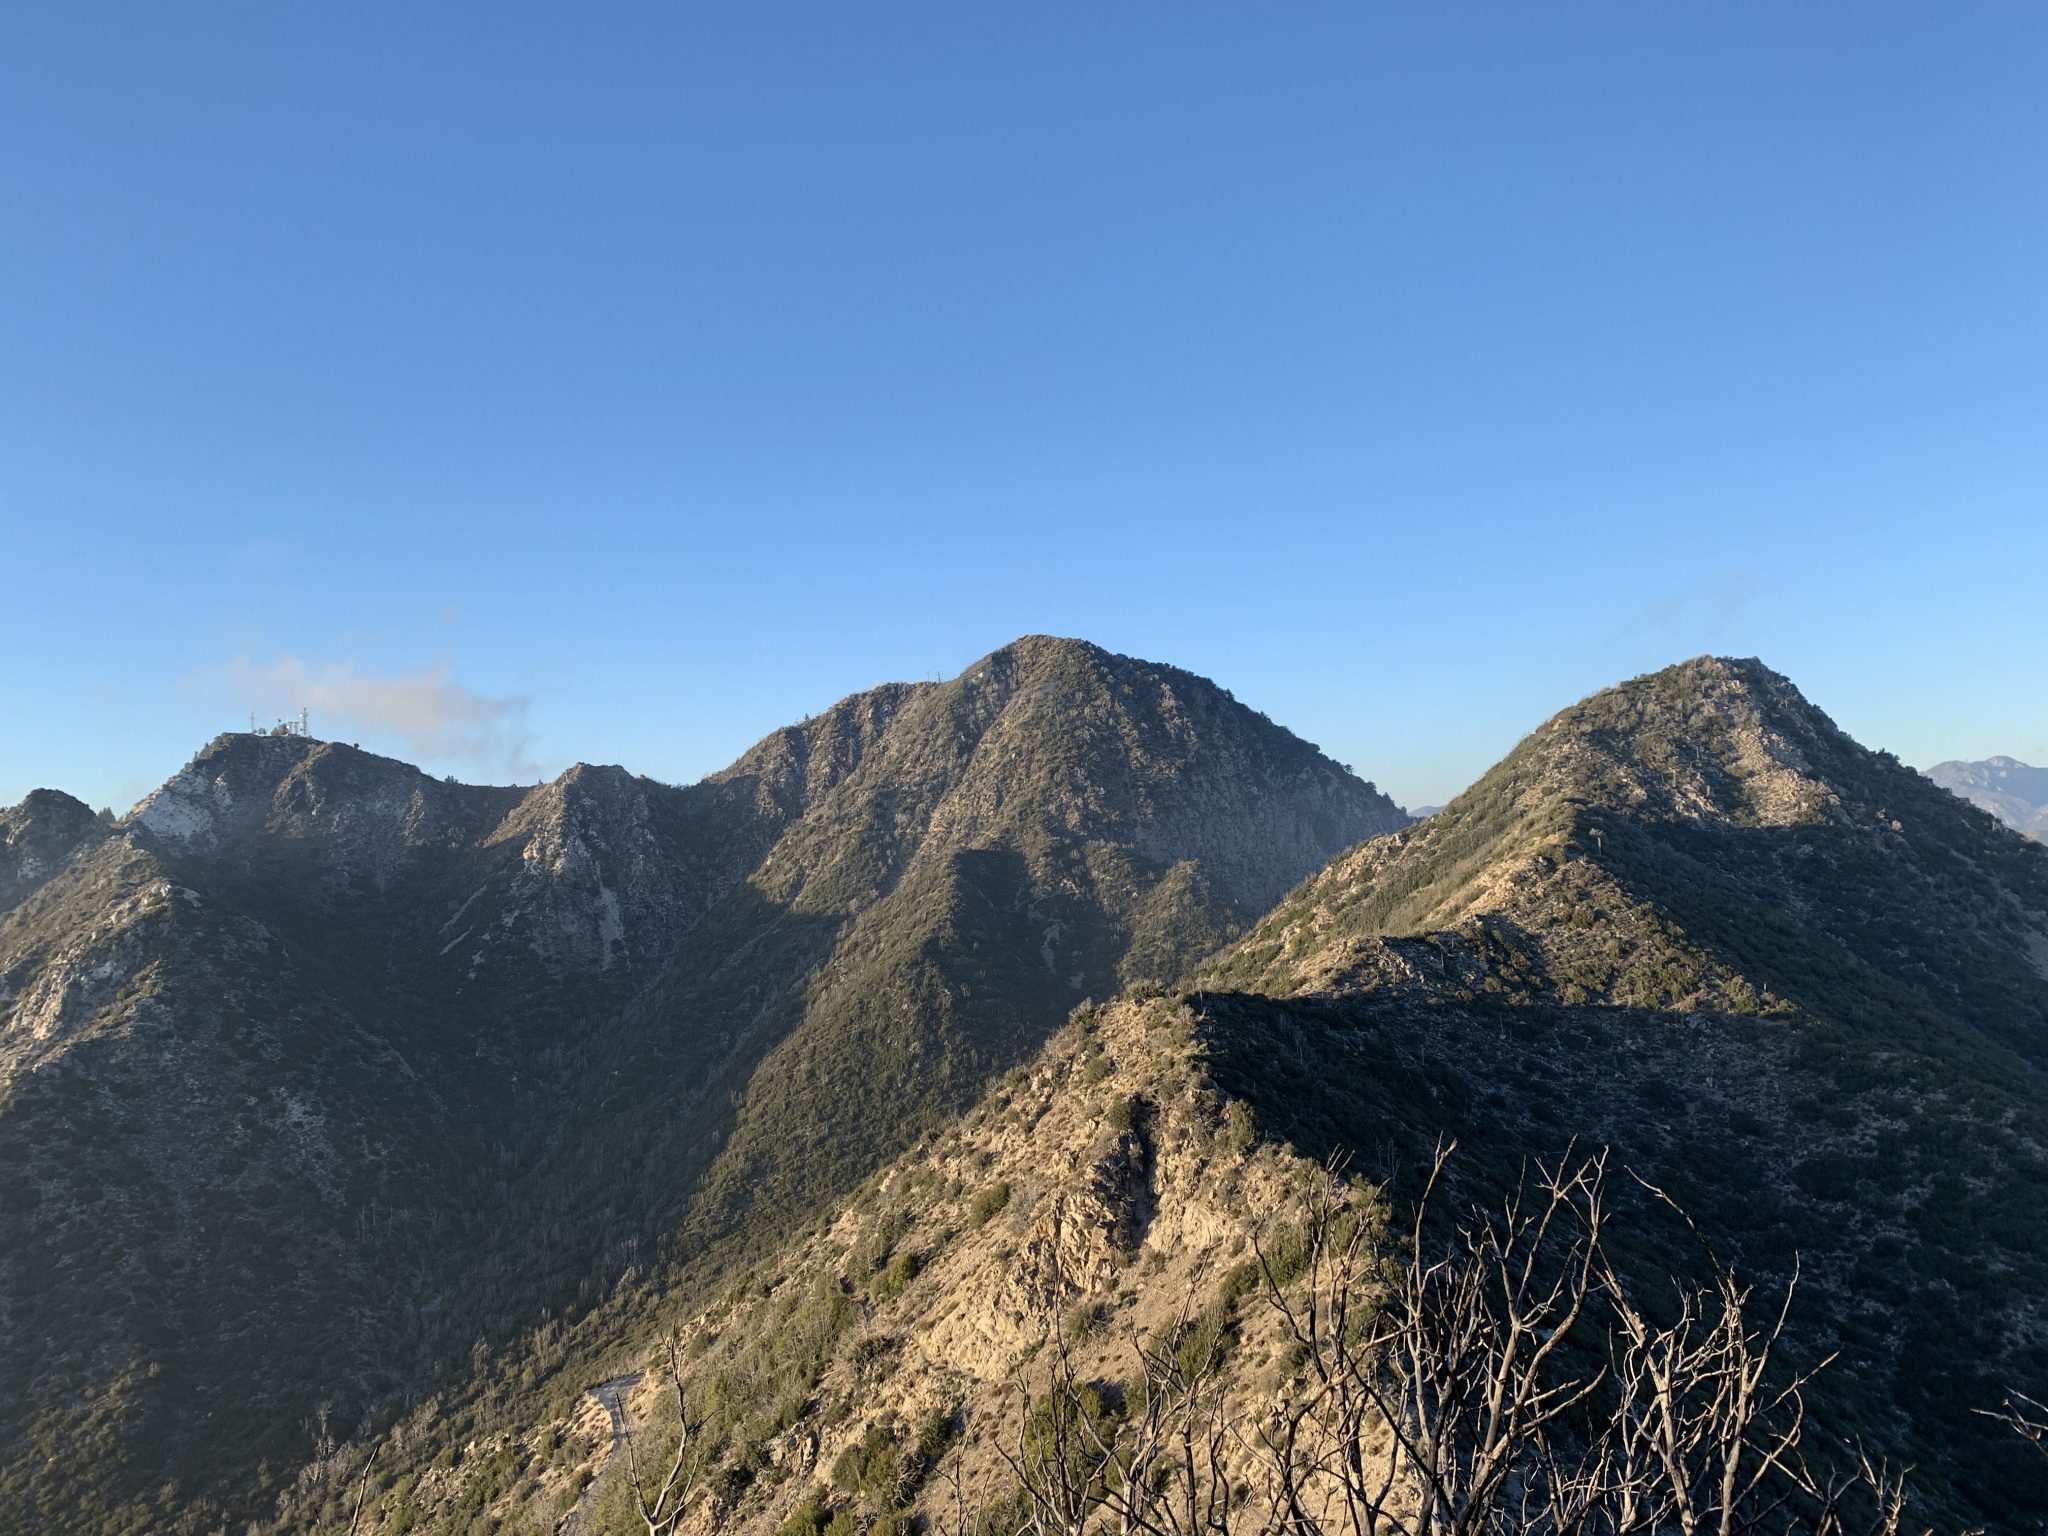
If you can identify Mt. Wilson with the antennas on top, then Muir Peak can be identified with a little searching with help from clear weather and a few mountain shadows. Muir Peak, known as Mount Muir on the Sierra Club’s Lower Peak Committee list, has a famous name, despite its “lower peak” status. However, if you look for it on the 1995 Mt. Wilson 7.5 quadrangle, you will see “Muir Peak” placed on what is actually Inspiration Peak. So don’t go to Muir Peak on the Mt. Wilson 7.5 topo. Instead, head to the bump at elevation 4,688’ and you will be at Muir.
Muir Peak is beautifully positioned for views. It commands a view of nearly the entire span of that big front range chasm, Eaton Canyon, all the way from Pasadena to where the canyon abuts the base of San Gabriel Peak at Eaton Saddle. To the west, when it is clear, the ocean and Catalina Island rest in the distance. Due north, San Gabriel Peak is the highest point around. From there, sweeping southeast, you will note distinctively shaped Occidental Peak, then the array of towers on Mt. Wilson and Mt. Harvard.


Hike Details
This is a Peak-Bagger’s Playground
Situated just south of a cluster of peaks which consist of:
- San Gabriel Peak
- Mount Markham
- Mount Lowe
- Mt. Disappointment
- Inspiration Point
- Mt. Wilson
There are more peaks to discover in this 2 mile radius, each with accessible trails.
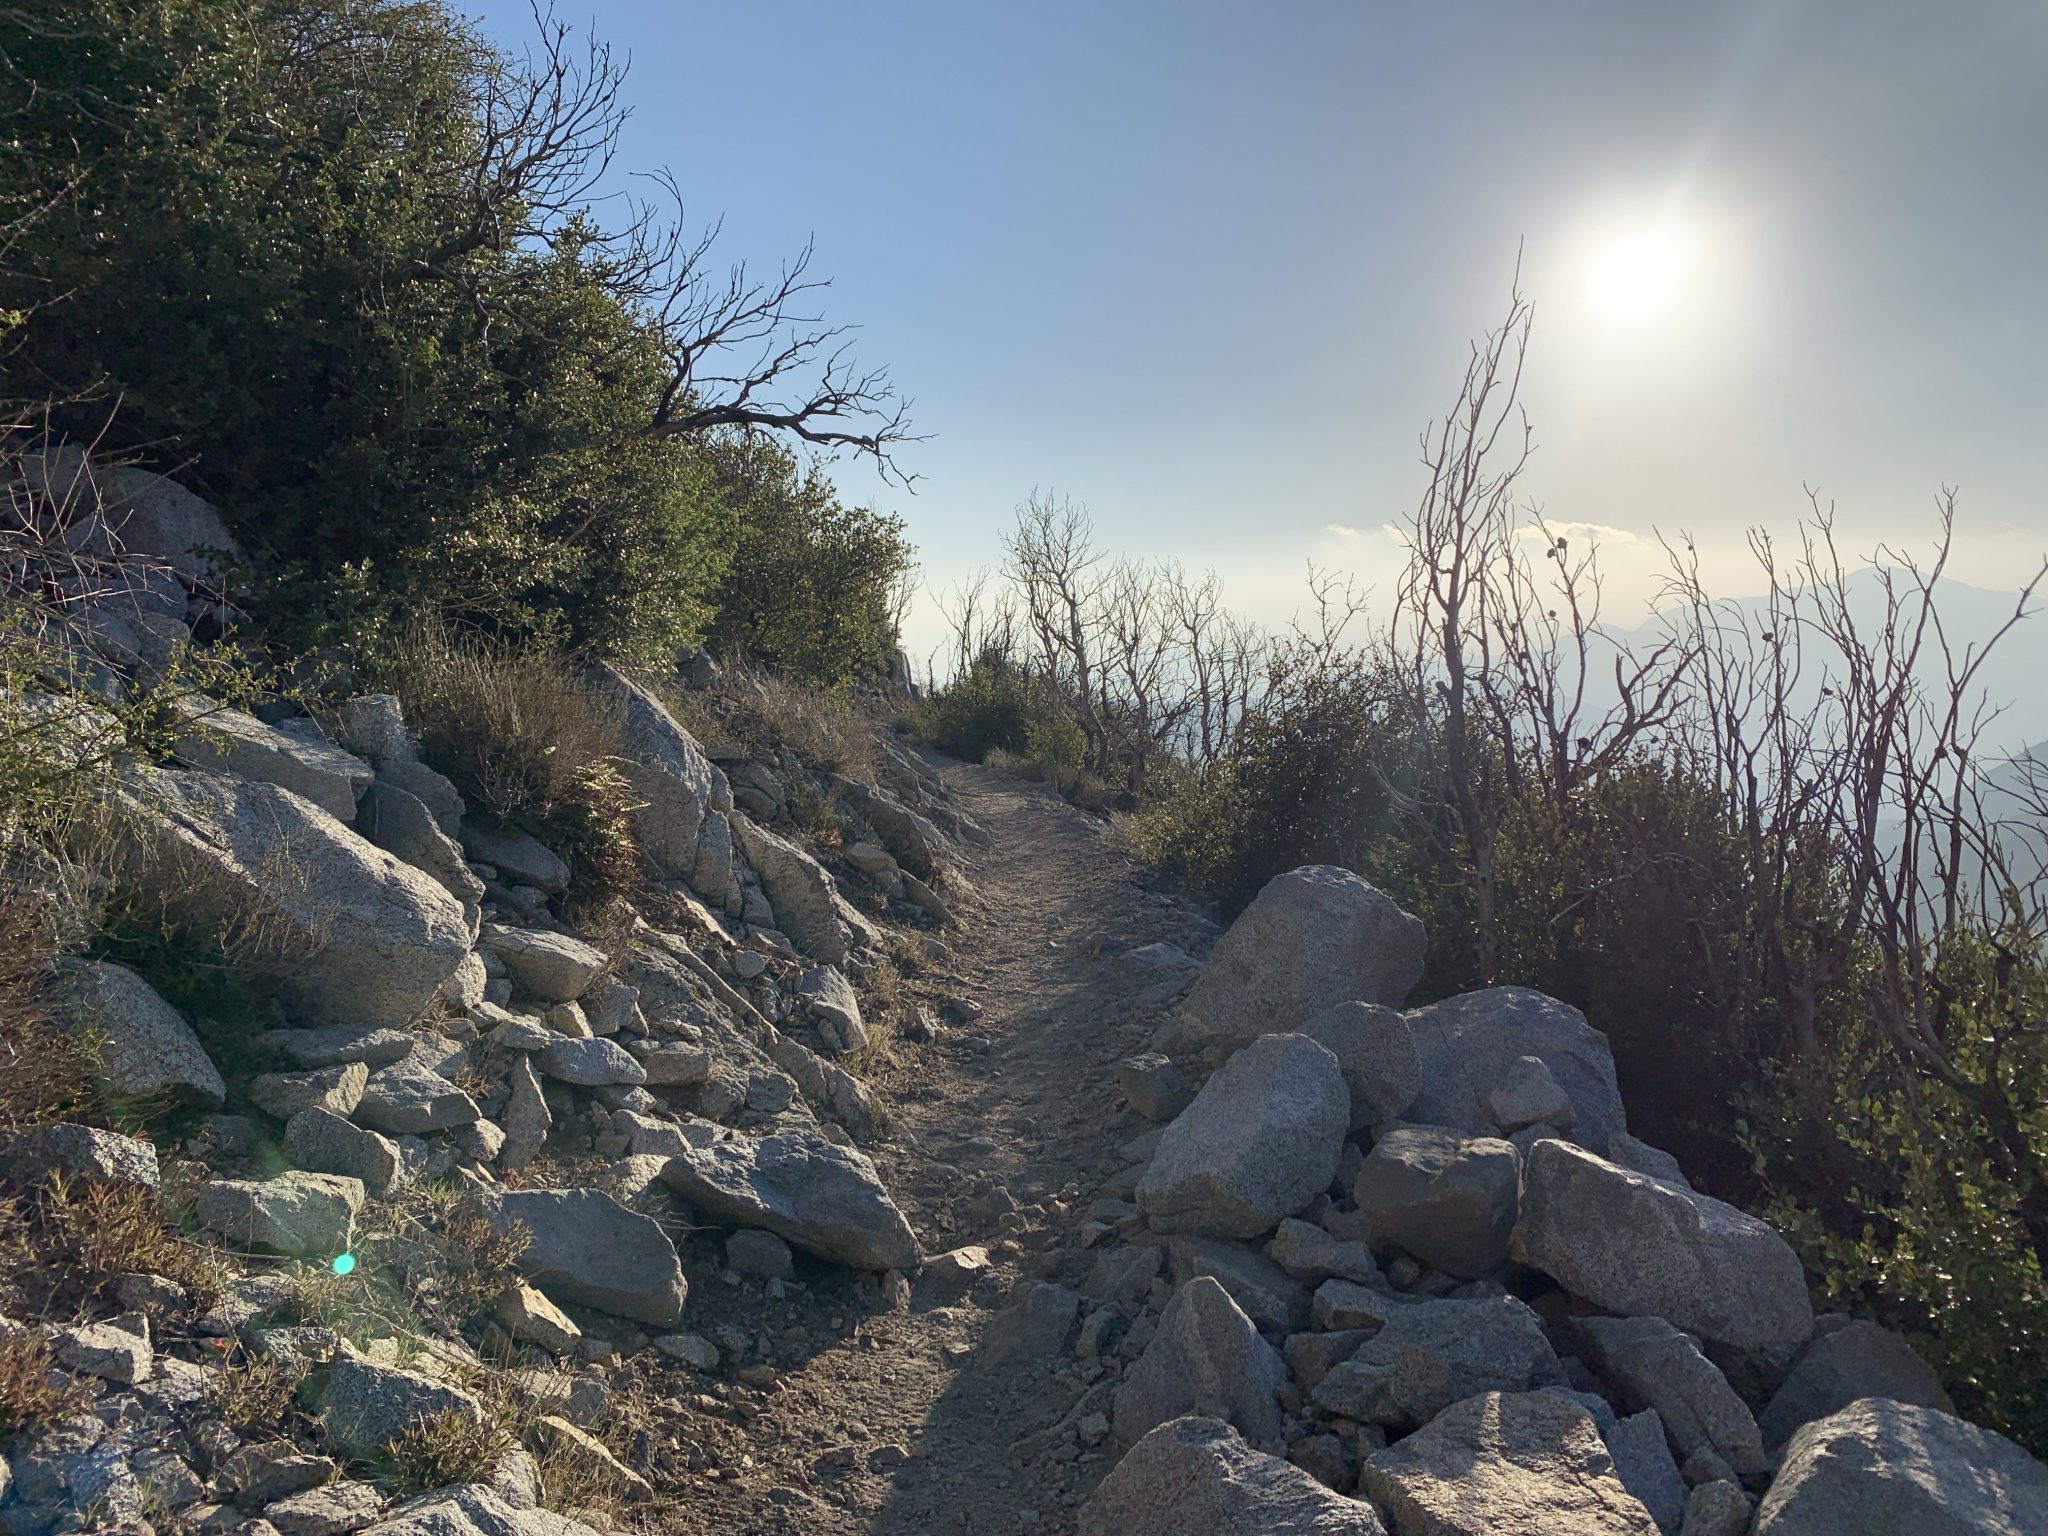
Most hikers find this well marked, well travelled mountain hike relatively easy to begin, and branches of trails lead to other neighboring peaks. Some sections are scattered with loose rock, from golf ball size to watermelon size so for some hikers, sturdy boots with ankle support may be preferred.
Some hikers may find it helpful to use trekking poles for extra help in some sections, and some hikers find it easy to walk or trail run the entire route.
DIFFICULTY:
Moderate – Intermediate
DISTANCE:
7 miles (rt)
HIKE TIME:
4 hrs (rt)
ELEVATION GAIN:
2800′


About 1/2 mile into the hike we will be passing through the old “Mueller” tunnel which can get very dark inside (even in the day time) While it’s not required, some hikers might want to keep the head lamp handy for this section. It’s also a great place to take some very cool photos.

The views inside this cluster of peaks can get dramatic when weather is changing!
The summit mark on Muir Peak

Getting there
(2 options)
carpool, or drive solo.
It’s a 30 minute drive from La Cañada-Flintridge to the trail head at Eaton Saddle
Option 1: Carpool
Carpooling is the better way to go since the parking at the trail head has space for about 35 cars and an Adventure Pass is required to park in the National Forest.
Carpoolers will be parking along “Flanders Rd.” in La Cañada, from there we can arrange carpool groups and drivers.
The address where we will meet to carpool is roughly 999 Chehalem Rd. La Cañada Flintridge, CA 91011
(see map below)

From here. we will collect our gear and carpool to Eaton Saddle to minimize parking at the trail head where the parking area only has enough space for about 20 cars.
– The drive to the trail head takes about 30 minutes, on winding mountain roads. Something to consider when selecting your seat for the ride.
– This will be the last chance for an acual restroom and chance to pick up snacks and drinks.
– There’s no restrooms at the trail head, but there’s restrooms at Red Box parking area (about 2 miles before the trailhead)
Option 2: Driving to the trail head
NOTE: This is a mountain road with sharp turns and steep cliffs, so if you are planning on driving up this route, be EXTREMELY CAREFUL and be advised that cyclists share this road as well as sports cars and motorcycles who, at times are seeking a thrill on these shared mountain roads. Use turn-outs if you’re backing up traffic.
DON’T RUSH, DON’T SPEED
Other treacherous conditions may be present, like rocks on the roadway, ice in the winter time, slick surfaces after rains, poor visibility with low clouds and fog, blinding high beams at night and glaring sunlight in the day. Your car needs good tires and good brakes.
You can check the latest conditions for SR2 here at CalTrans
– Driving out along highway 2 for about 15 miles into the Angeles National Forest, we eventually come to Red Box Saddle where we turn right onto Mt. Wilson Rd. Follow this narrow, winding road for about 2 miles to Eaton Saddle. There is parking on both sides of the road.
-On the weekends, the parking here fills up since there’s only room for about 35-40 cars.
Sometimes, you might have to wait until someone leaves to find a parking spot.
-Don’t forget to display your Adventure Pass.
More info on the Adventure Pass here…
-We usually convene in the parking area near the large metal gate. The trail head begins just beyond the large metal gate.
The map below shows driving directions to the trail head from the carpool meet up location in La Canada.
Meet Your Guides
Paul Reid

Hi! I'm Paul.
I’m the founder of Type One Outdoors, and have been T1D for 36 years now.
I’ve been hiking the mountains of Southern California for a number of years now, and have extensive knowledge of the trails throughout the San Gabriel Mountains, San Bernardino Mountains, Santa Monica Mountains, the Angeles National Forest, Mojave Desert and the Eastern Sierras.
I’ve endured all that diabetes can throw at a diabetic in the backcountry, and I’m on a mission to share all mt tips and tricks to all type ones who want to know how to be a type one in the outdoors!
I am certified with the American Mountain Guides Association and a NOLS certified Wilderness First Responder.

What to Bring
T1D items in red
Pack:
– Small…a 16 liter day pack will be fine.
Water:
– 1 liter will be plenty
– A 20 oz bottle of Gatorade (full sugar) can take care of most your water and glucose needs.
Camera:
Any kind of camera will do (SLR, iPhone, Polaroid)
Headlamp:
Or hand-held flashlight
(with good batteries) just in case.
Footwear:
– Trail Runners (PERFECT)
– Road Running shoes (GREAT)
– Hiking Boots (GREAT)
– Mountain Boots (only if deep snow is present)
Exposure Protection:
– Hat (cap will be fine)
– Chapstick or Carmex
– Buff / Bandanna (optional)
– Sunglasses
– Beanie (in case it gets cold after sundown)
– Light gloves (in case it gets cold
– Poncho (in case it rains)
– Wind shell
– Long sleeve mid-layer
Trail Calories:
– Trail treats… Things that can fit in your pockets but won’t melt
– Light snack (like an apple or trail mix)
– Energy Gels
– Starburst
– Glucose Tabs
Clothing:
– Sports shirt (moisture wicking) … you might get sweaty
– Hiking pants (something you won’t mind getting dirty)
– Shorts are fine in summer.
– Alpine shell (only in winter)
Trekking Poles:
– Not a requirement,
(but maybe helpful on the occasional steep section)
Backup T1D items:
– Backup Glucose meter + strips
– CGM (optional)
– Backup insulin
– Pocket glucose (non-melting)
plenty of opportunities for flora and landscape photography
Other Stuff:
LNT:
We will be traveling in a fragile ecosystem, so we will practice Leave No Trace principles.
Whatever we pack in, we will be packing out.
Feel free to bring an extra ZipLoc bag for litter.
Leave rocks, trees, wildlife undisturbed.
Just in Case:
At least 1 person in the party will carry:
– First Aid Kit
– Blister Treatment
– Phone
– Map
– Headlamps
– Emergency blanket
– Emergency glucose
For more info or questions: email:
info@typeoneoutdoors.com